How to Fix QuickBooks Error H505: Causes, Symptoms, and Solutions
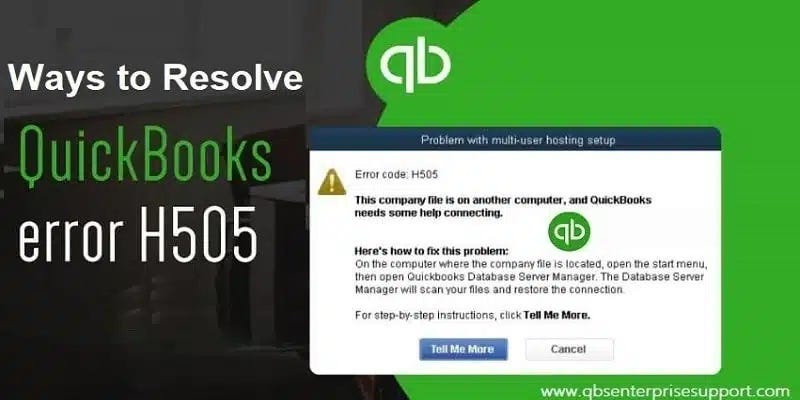
If you are facing QuickBooks Error H505, this error indicates that you are facing some kind of interruption in the connection to the server. This error is usually related to the H series and is caused by network problems when you’re trying to open the company file on the server. You will get this message pop-up to access the file: The error code reads, This company file is on another computer, and QuickBooks needs some assistance connecting.
Reasons that cause QuickBooks Error code H505
There are many reasons that cause QuickBooks error code H505. Here we are discussing some of the most common reasons.
- Check if Windows Firewall or a third-party firewall blocks the connection between computers in the network.
- If you are using the oldest version of QuickBooks. So I installed the latest updates.
- Also, this error indicates when the server hosting the company file has an incorrect hosting setup of the QuickBooks application.
- Damaged or corrupted network data files (.ND) that QuickBooks uses to establish connections with other computers in the network also cause this error.
Quick Steps to Fix QuickBooks Error Code H505
Solution 1: Create a New Company File folder
- Find the company file folder that hosts the company file on your computer.
- Create a new folder on the desktop and paste that company file into the new folder.
- Next, right-click on the folder and select the Properties option.
- Click the share tab and choose the advanced sharing option from the list.
- Check the "Share this folder" checkbox and click on "Permissions."
- Select the "Full Control" checkbox for every group option and click the "Apply" button and "OK."
- Now try to open the company file again from the workstation to check if the error is resolved or not.
Solution 2: Configure your QuickBooks Hosting Services
Step 1: Verify hosting
- First, you need to restart the software on both servers and run the application on both systems in multi-user mode.
- Now go to the file menu and click on the Utility option.
- Next, click on “Stop Hosting the Multi-User Access” or “Disable.”
Step 2: Verify QuickBooks Services
- Open the run and type MSC and find out the Services.msc from the box.
- Search and select the QuickBooksDBXX services.
- Also, perform the startup in automatic mode.
- Now click on the recovery option.
- Once the process is finished, restart the QuickBooksDBXX service and repeat the process.
- Now repeat the same process for the QBCFMonitorService.
- Then run the solution in multi-user mode on each affected digital system.
- Finally, locate the QuickBooksDBXX service that is a member of the Admin cluster and agree to the permissions in case of any issues.
- Click on the port option, and then click Visit the next tab.
- Ensure you select the right TCP option.
- Click on Port and visit the Next tab.
- Make sure to select the right TCP option.
- Also, type the year and version port of QB Desktop.
- Restart the QuickBooks desktop application.
Solution 3: Update QuickBooks application
- First, you need to open the QuickBooks application and go to the Help menu and choose the option of About QuickBooks.
- Some list is shown under the list; click on Update QuickBooks.
- Click on the Update Now button.
- The latest update installation process is starting.
- After installation, restart your computer and try to open the company file again.
Solution 4: Configure the Window Firewall Settings
- Click on the Windows button on the keyboard and type control panel settings, and click on it.
- Now select the firewall settings.
- Allows program from system firewall settings.
- Now select the add program tool and add QuickBooks 20xx to your exception list.
- Reboot your computer to apply the changes.
Solution 5: Edit the Host File
Step 1: Search for the IP address and system name of the server & workstation.
- Go to the Run and type cmd and enter to open the command prompt window.
- Now enter ipconfig/all and enter your hostname and IP address as well.
- Repeat the process for multi-user.
Step 2: Edit your Windows hosts file
- To edit your Windows hosting file, you need to first exit from QuickBooks and follow the path C:\Windows\Systems32\Drivers\Etc or C:\Windows\Syswow64\Drivers\Etc.
- If you are unable to view, go to the view tab and tap on the hidden item to view files.
- Fill in the IP address and system name.
- Save all the changes you made and open QuickBooks in multi-user mode.
Conclusion—
Hopefully, by following the above methods, QuickBooks error H505 will be resolved. If you have any doubt and still need any technical guidance, then contacting our technical support team at 1–800–761–1787 is suggested. You can speak to our experts at QuickBooks support; they will provide you immediate guidance for your problem.


Comments
Post a Comment